
DIY Magnetic Chore Chart
by pamela donnis :I like this idea :)

Supplies:
- Chore Graphic Printout
- 1-inch circle punch
- Clear Glass Pebbles
- Mod Podge
- Paint Brush
- Hot Glue Gun
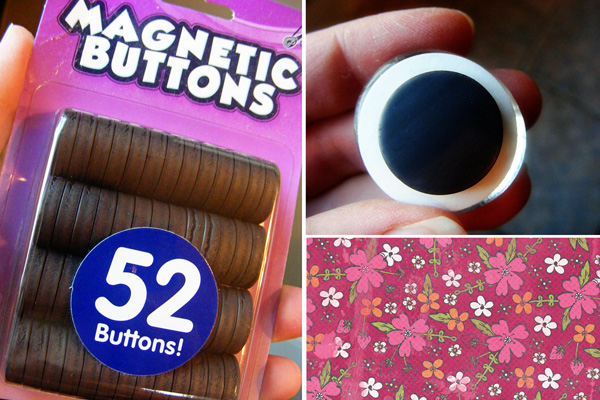
- Strong Magnets
Start by printing out the chore chart graphics. I recommend printing on heavier paper such as cardstock, or my favorite, Epson Matte Presentation Paper. I like the matte paper because it’s sturdy like cardstock, but unlike cardstock (which tends to absorb and mute the color ink), the matte paper presents vibrant colors that are true to what you see on the computer screen.
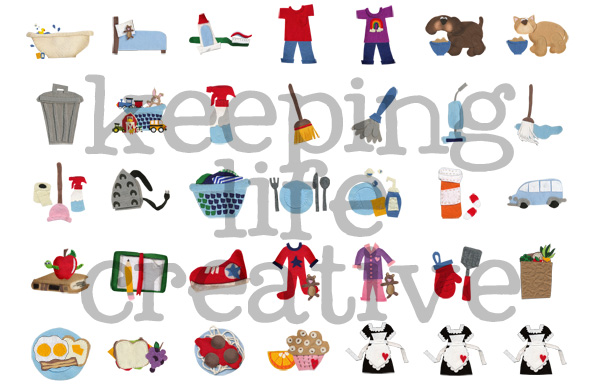
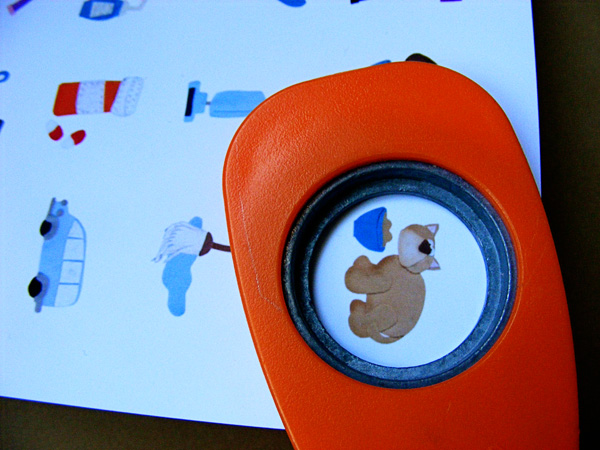
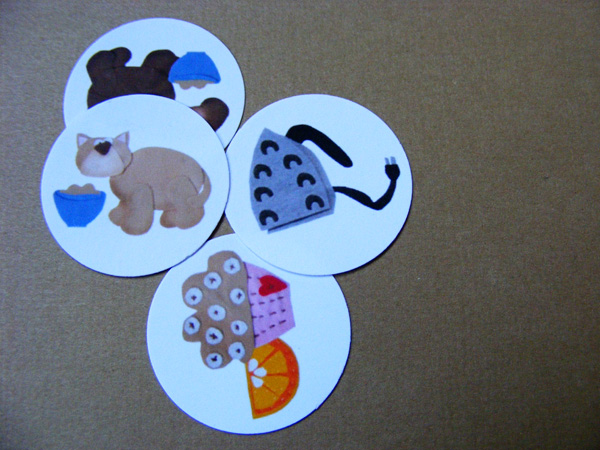
Punch out each chore graphic using a 1-inch circle punch.
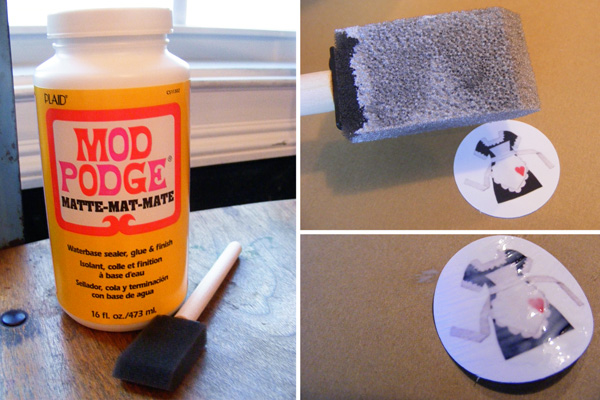
Then brush a thin coat of Mod Podge over each punched chore graphic.
{I’m using the “maid” graphic for “mom’s choice” or “mommy’s helper.”}
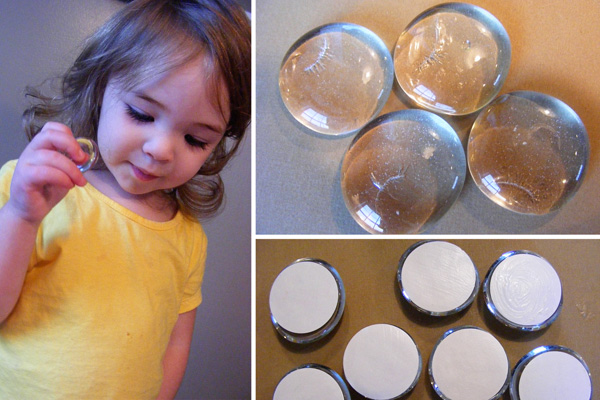
Firmly press the glass pebble (flat side down) onto the modge-podged chore punchout. Try to smooth out any bubbles by rubbing the back of the punchout. Don’t stress too much though, as the Mod Podge will dry clear.
Brush a thin layer of Mod Podge over the back of the cutout to seal.
Allow Mod Podge to fully dry, then hot glue a strong magnet to the back of each chore pebble.
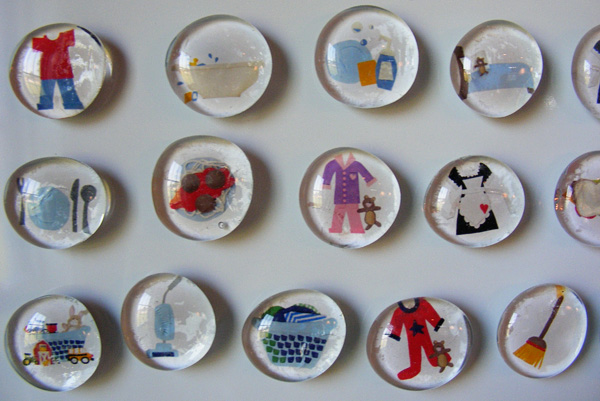
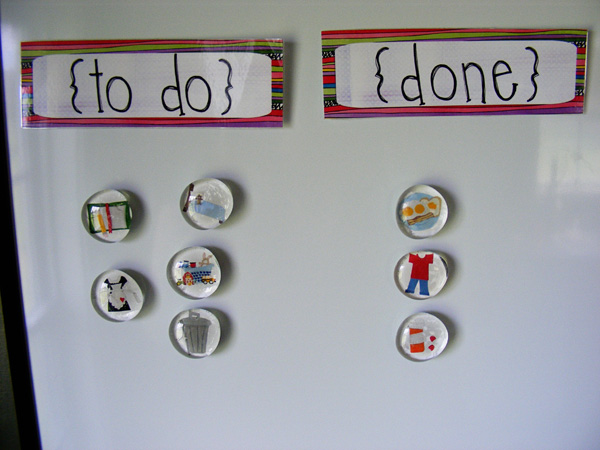
Completed chore magnets:
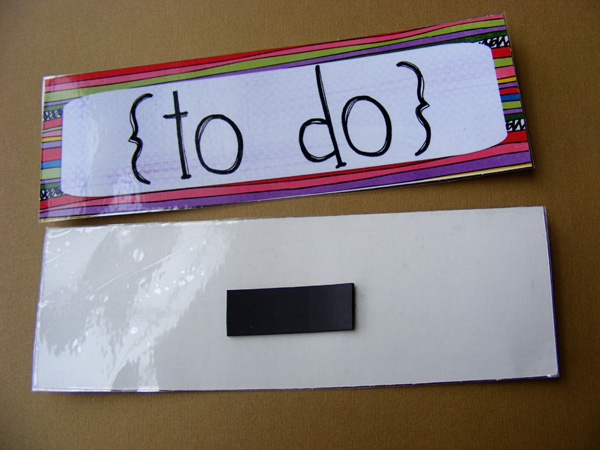
If desired, laminate the “to do” and “done” strips for durability, and then place a magnet on the back as well.
Place the magnets on a white board or other magnetic surface, and introduce the chore chart to your kiddos!!
ไม่มีความคิดเห็น:
แสดงความคิดเห็น